For Those who Want to Try Hardboard Panels
In my last post I mentioned hardboard panels as my clear choice as a painting ground for Open Air Painting. Much cheaper than canvas, more durable when trucked around, easy to prepare in batches. In this post I will go through my process of preparing panels for use.
Hardboard, or Masonite (brand name), is a common construction product, available at most lumberyards. I find ¼” hardboard too heavy, so I choose 1/8”. A 4’ x 8’ sheet costs roughly $12/, and can be divided up into a myriad of shapes and sizes. For me, the landscape sizes are 8” x 12”, 8” x 16”, 12” x 16”, 12” x 20”, 12” x 24”, and 16” x 24”. When I purchase a sheet of hardboard, I have the lumberyard cut it into three pieces, usually equal pieces of 48” x 32”, for ease of handling.
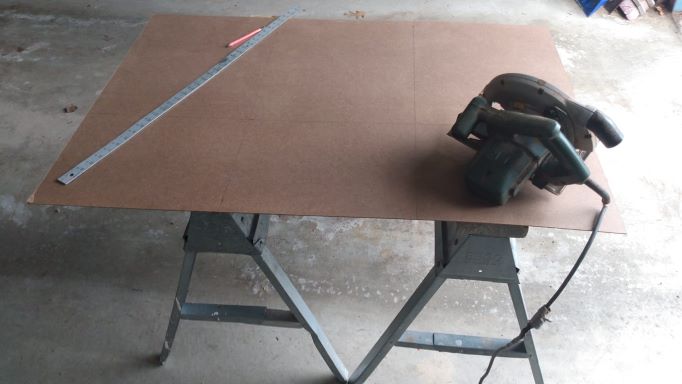
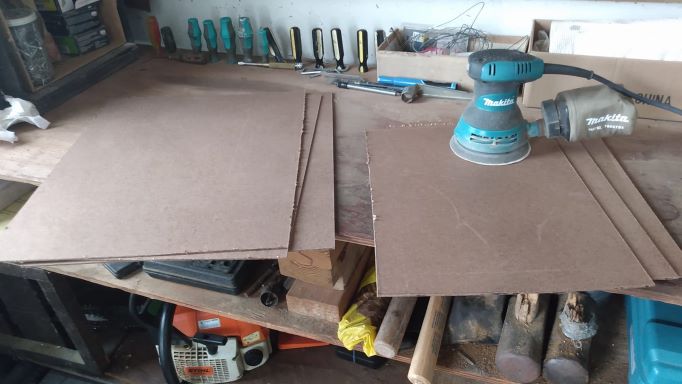
The rest of the cutting I do myself with a circular saw. I always try to cut a collection of shapes which leaves nothing to discard. When I’m on a portrait binge, it will be the standard shapes (16” x 12”, 20” x 16”, etc) when I am cutting for plein air, more of the longer shapes. After you have cut your shapes, there is another step that depends on which surface you are using to paint on (assuming your sheet has an unpressed and a pressed surface; some have two pressed surfaces). A rough, unpressed surface does not need to be sanded; a pressed surface MUST be rough sanded in order to take the primer. Use sandpaper with a grit of 60.
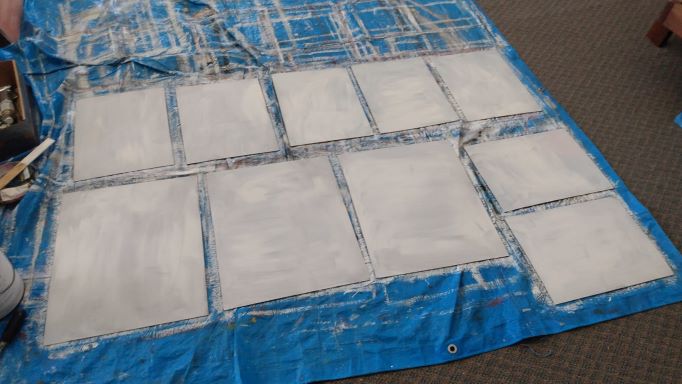
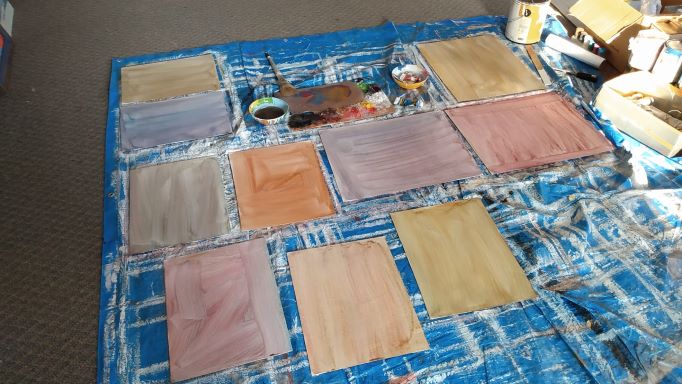
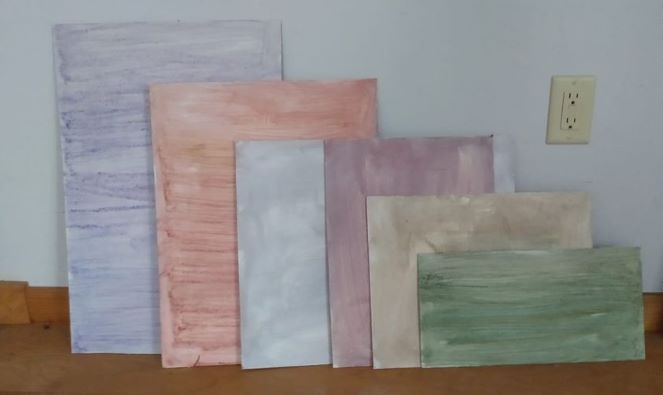
Once sanded the panels are ready to be gessoed and toned. A fresh panel takes two coats of primer, a reused panel takes one. An artists’ gesso is best for thickness and coverage, but a premium quality interior latex white will work. It is also possible to get colored gesso or paint, but I prefer to tone the panels once dry, making each one unique. I tone the panels with acrylic paint heavily thinned with water (even though I intend to paint on them with oils) in batches of c. 20 panels of various shapes and sizes at a time. I squeeze out a small quantity of three or four colors (ochre, cerulean, red, maroon) and use at least two of them partially mixed to do my first panel. For the next panel I DON’T clean out my brush, just add another color or colors to change the tone and continue this way with successive panels. I give each panel a final brush in one direction to smooth the tone somewhat.
Why do I paint on a toned panel rather than leave it white? The tone does many good things for me, not the least of which is speeding up my painting process. If I start with a tone that is approximately the overall tone suggested by the scene, the overall tone of the final sketch, I save myself the trouble of covering up the glaring white which doesn’t belong. Another benefit is that (since even oil paints are not fully opaque) the ground tone will unify and harmonize the color of the resulting painting. But most important, it allows me to see more correctly how each tone that I apply fits with the rest. As long as large areas of white remain, it is impossible to judge how a tone applied will eventually look.
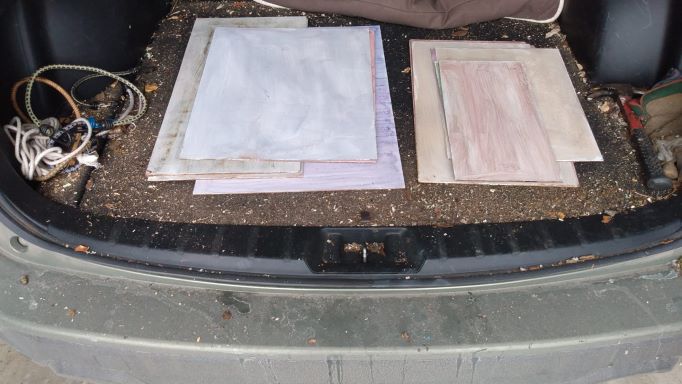
Panels galore! This means choices when the time comes to paint: choices in shape and size, choices in tonality. It is always best if you can find a shape that fits your choice of framing, and a tone which matches the overall tone you see. I have a full range of panels in the back of my car. Even when I head out from the car on foot to find a scene, I will always take at least two shapes with me.
The Monson Arts Council is a 501(c)3 non-profit organization whose mission is “To discover, promote and sustain an appreciation of and an involvement in art and culture in Monson.” It is run by a volunteer Board of Directors who serve three year terms, and who each year elect a slate of officers for the coming year.
Monson Arts Council
PO Box 306
Monson, MA 01057
©2024 Monson Arts Council
Privacy Policy